Solar
Plane's Wing
The solar plane's wing
provides lift to carry the plane's 9- to 10 pound weight. It also contains the
photovoltaic array of 32 solar cells that power the entire airplane including
the:
w Electric motor
w Radio control system
w Rudder & elevator servos
w Telemetry system (GPS, current, voltage & temperature sensors,
altimeter, data logger)
w 2.4GHz telemetry downlink transmitter
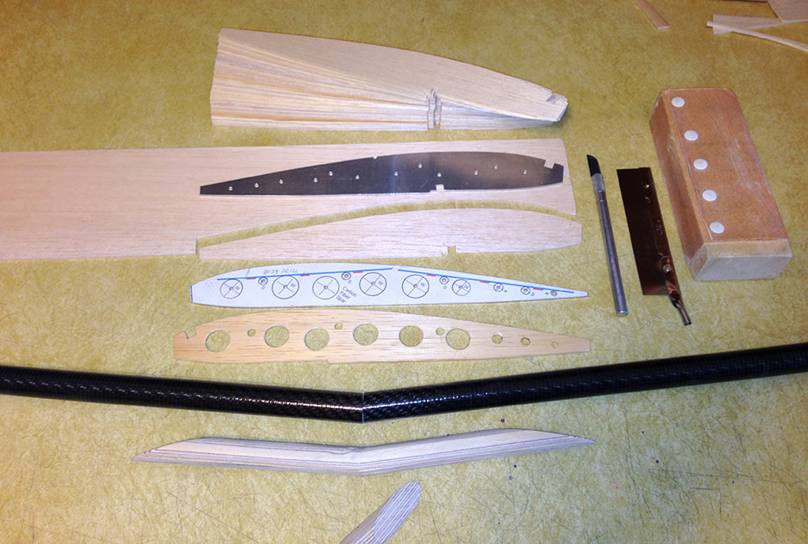
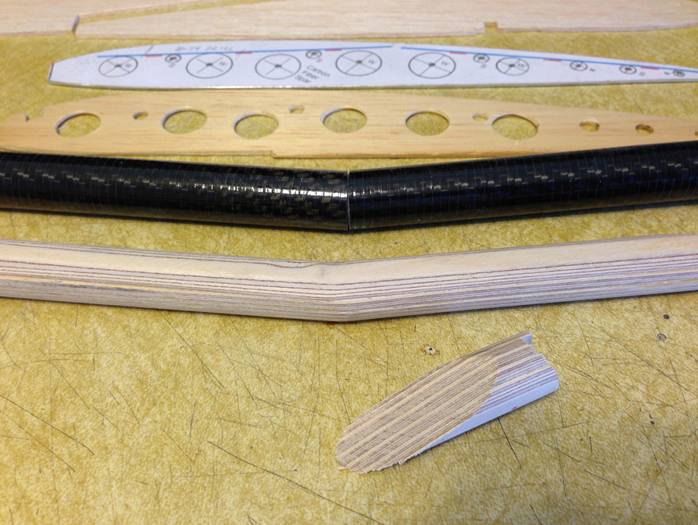
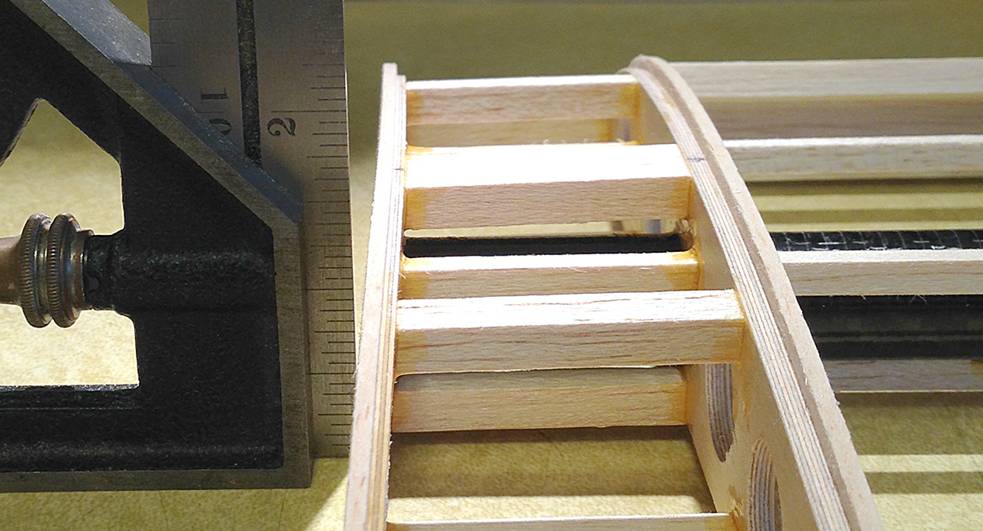
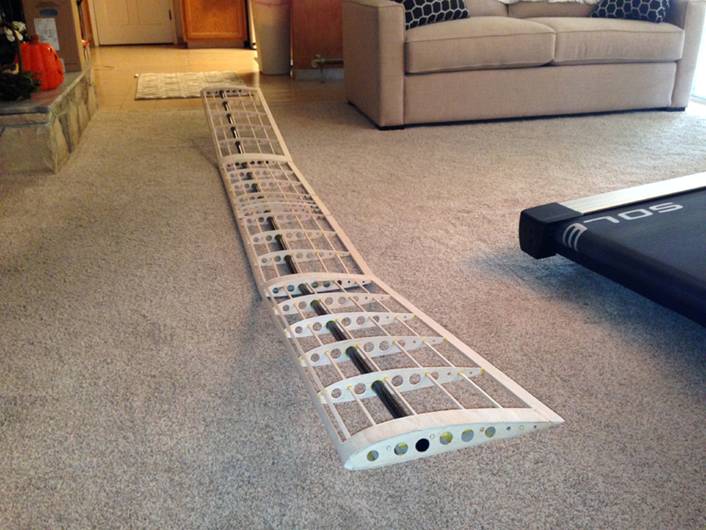
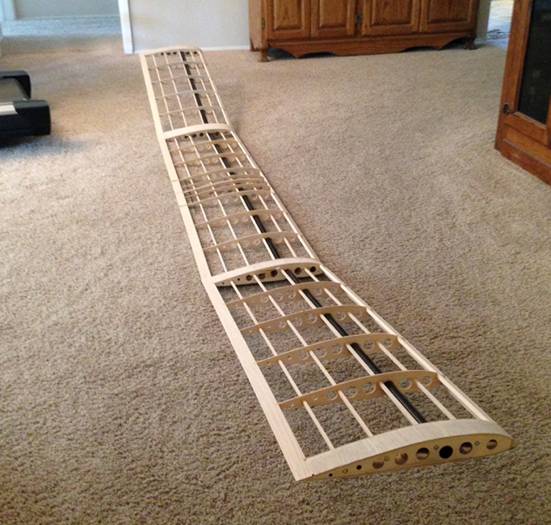
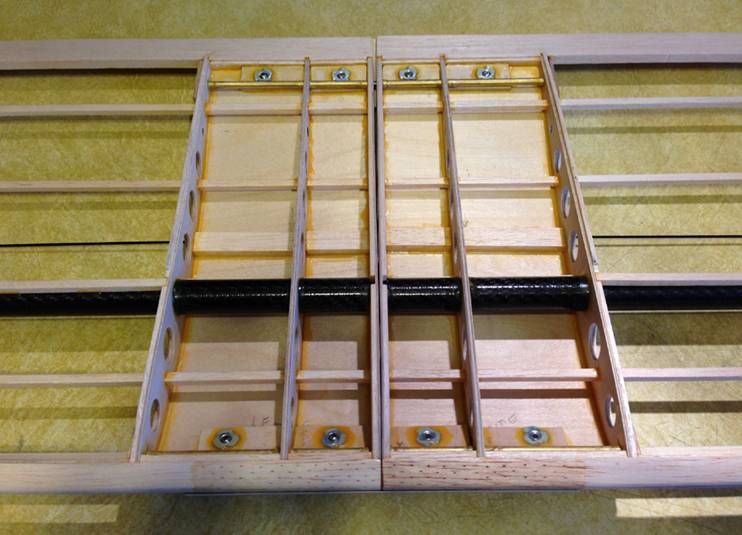
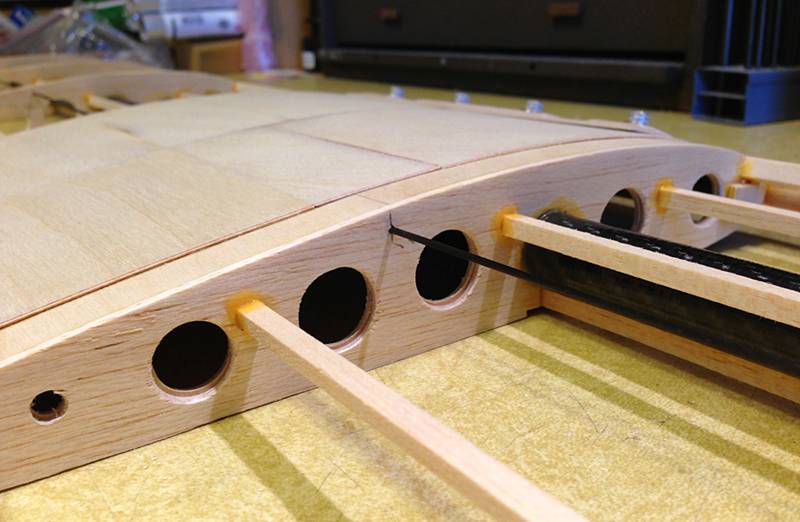
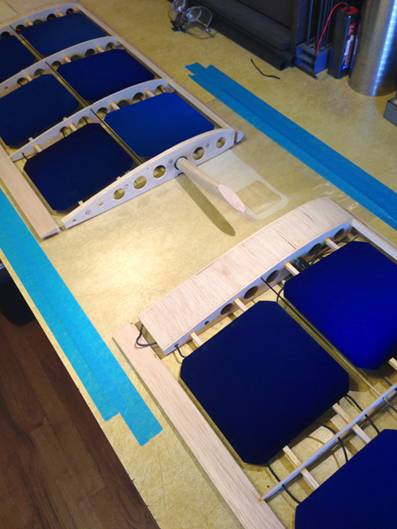
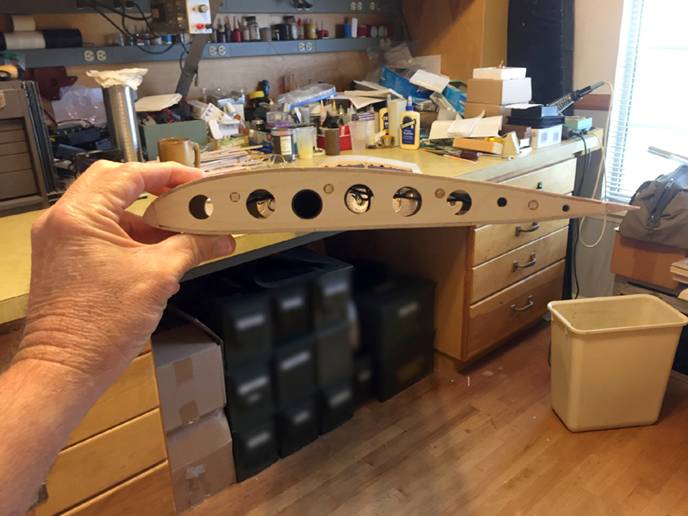
The two-piece wing spans 10'
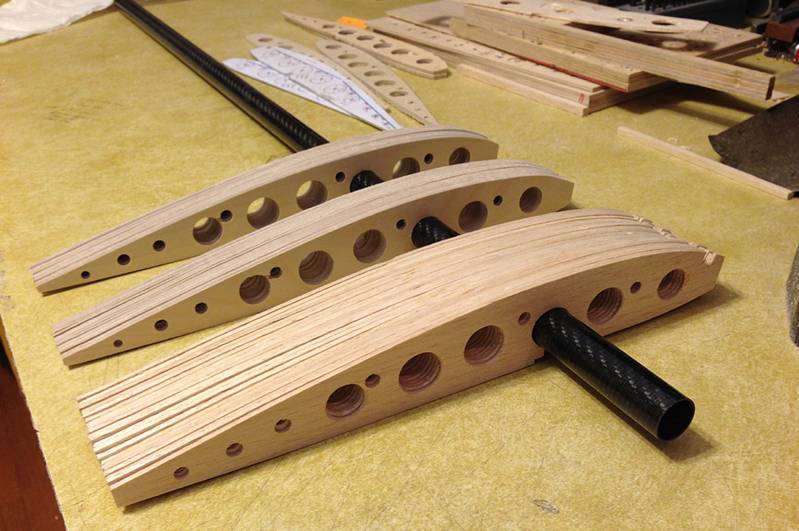
with a 12.25" chord. It is built of balsa and light plywood. The wing's
spar is a woven carbon fiber tube that provides the wing's bending &
torsional strength, and the joiner tube is linear carbon fiber. The wing is
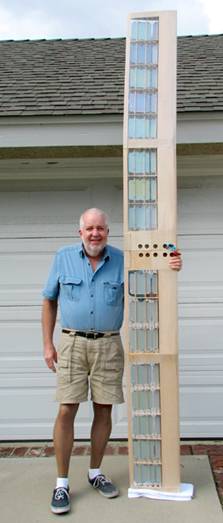
covered with a clear, lightweight
iron-on covering film, 21st Century Coverite MicroLite.
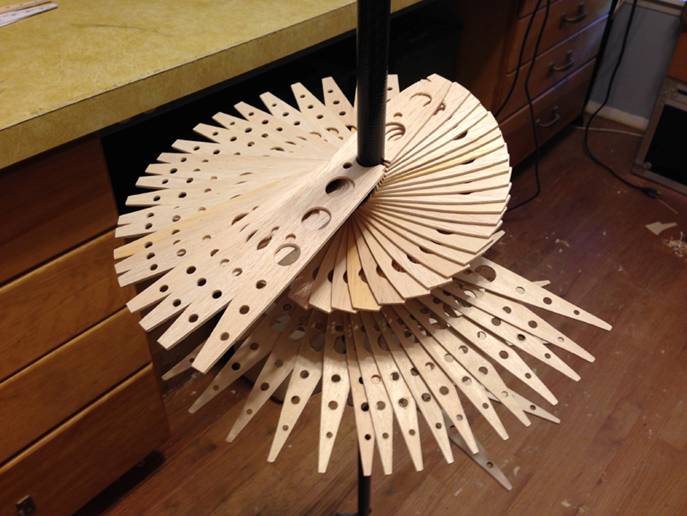
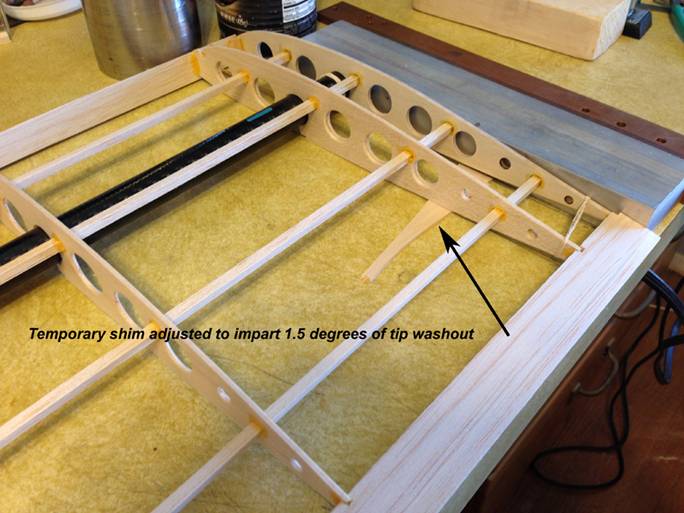
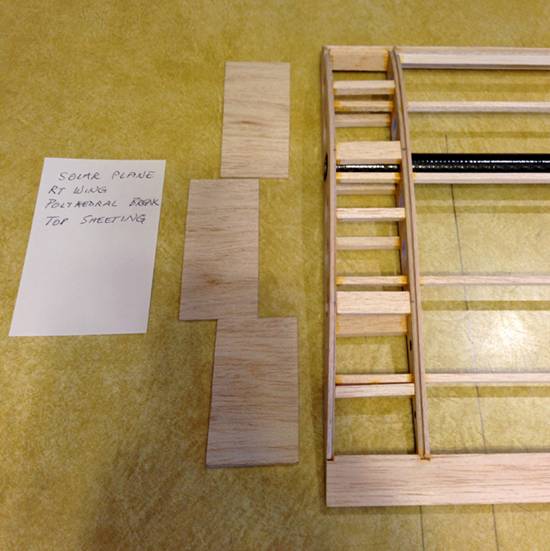
When assembled, the polyhedral
wing has a flat center section spanning 4', plus two 3' tip sections that rise
at an angle of 11.3º. The polyhedral provides excellent flight stability
and efficient turning with simple, lightweight rudder & elevator controls.
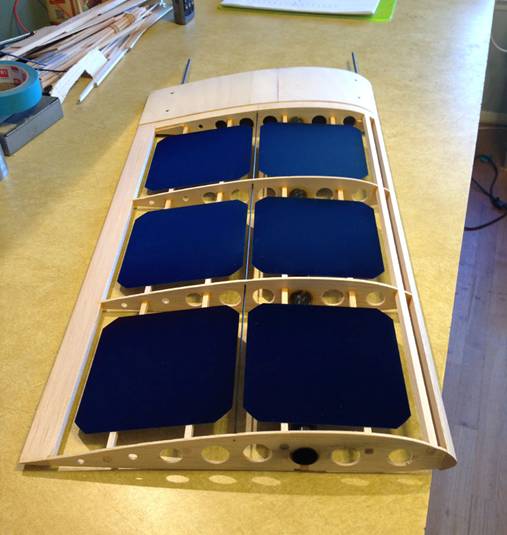
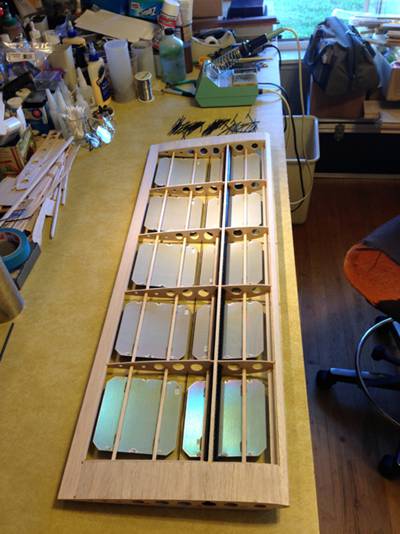
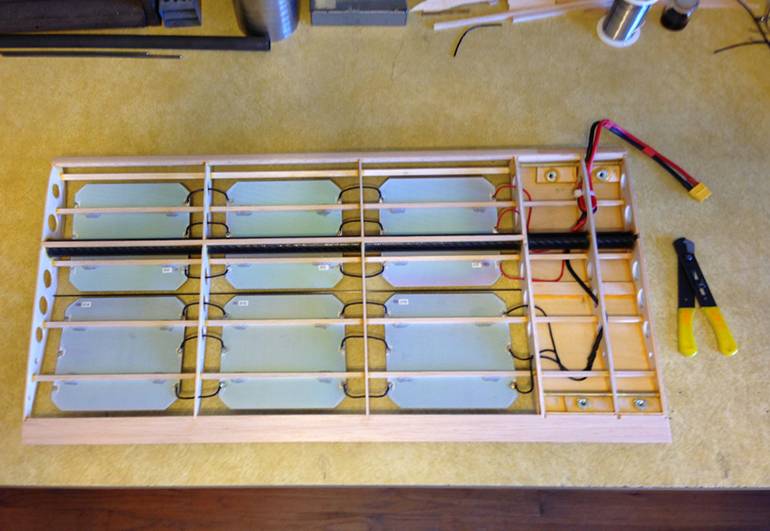
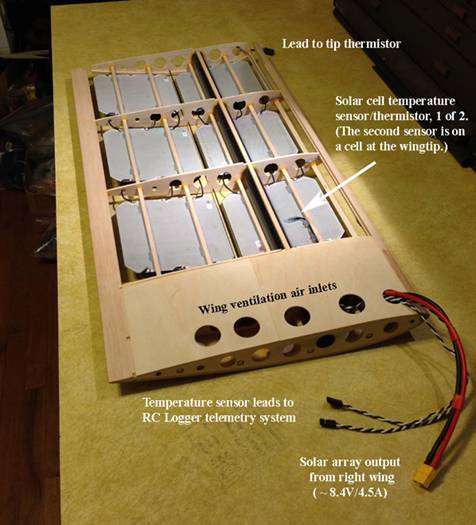
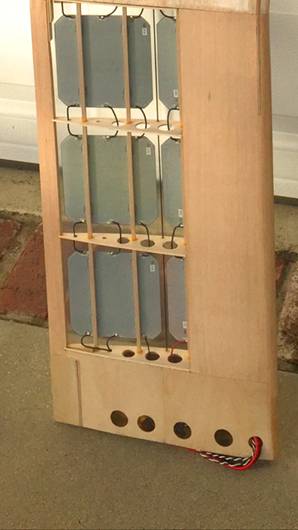
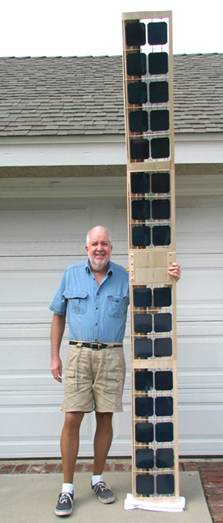
Inside the ten foot wing is
an array of 32ea, 5-inch-square solar cells electrically connected as 16S/2P.
The solar array produces about 76Watts under optimum flight conditions,
sufficient to fly the plane for several hours midday in the summer months with
no contribution of power by the airplane's small emergency/backup LiPO battery
that's there for safety reasons.
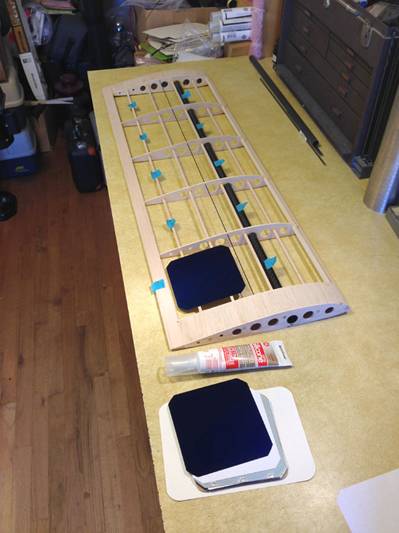
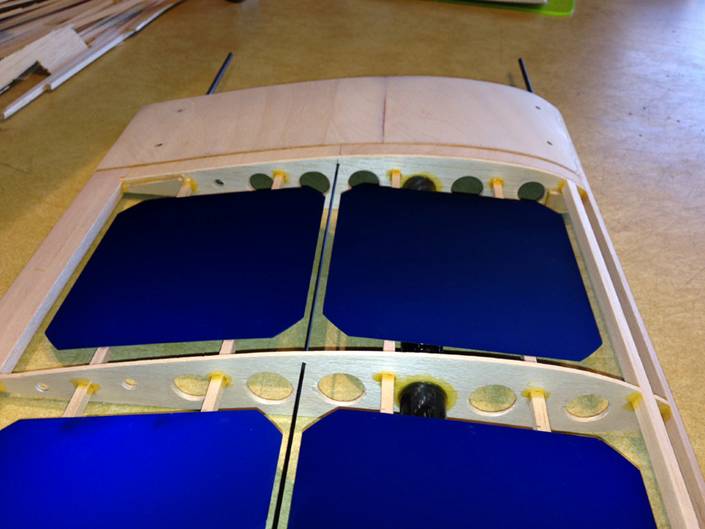
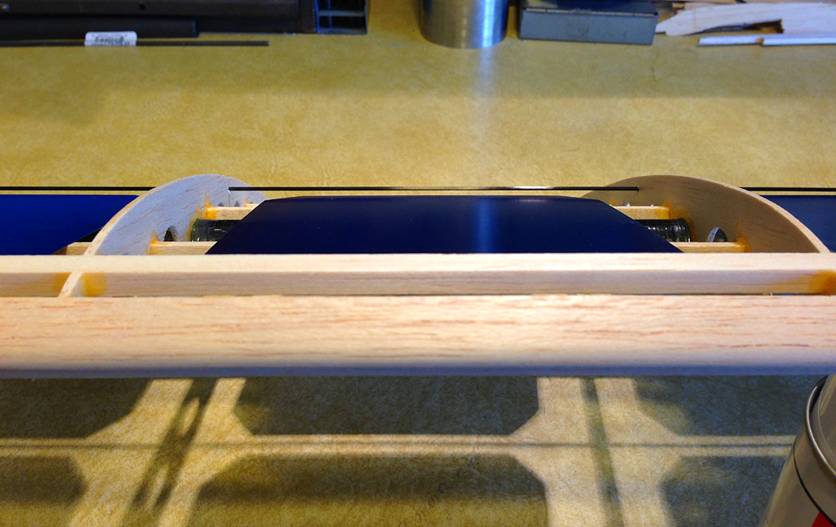
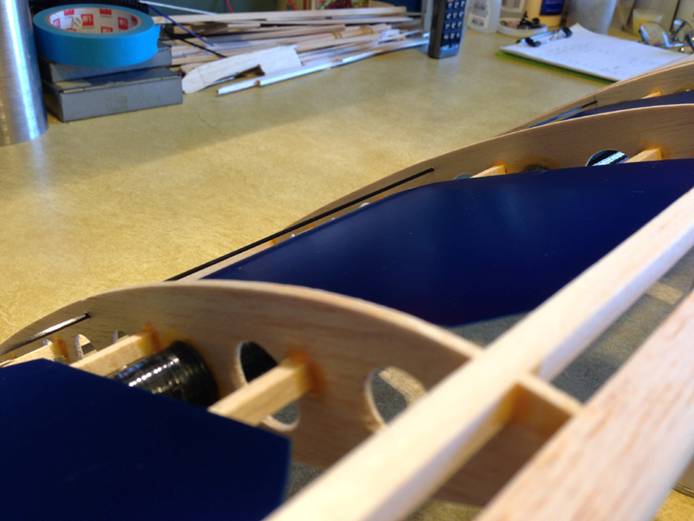
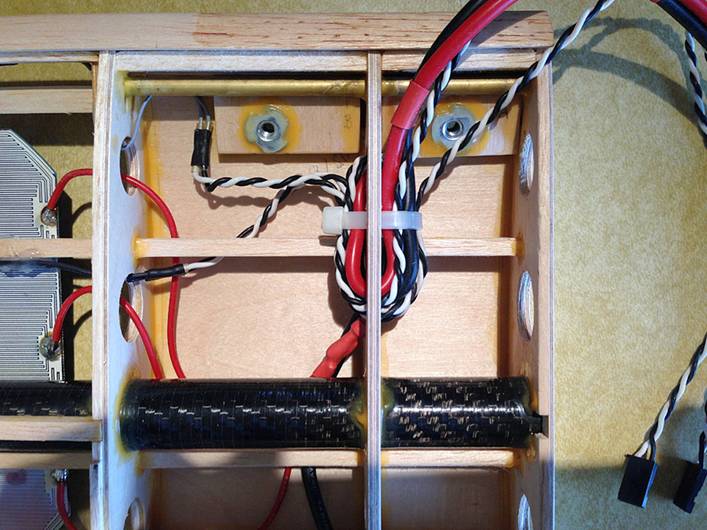
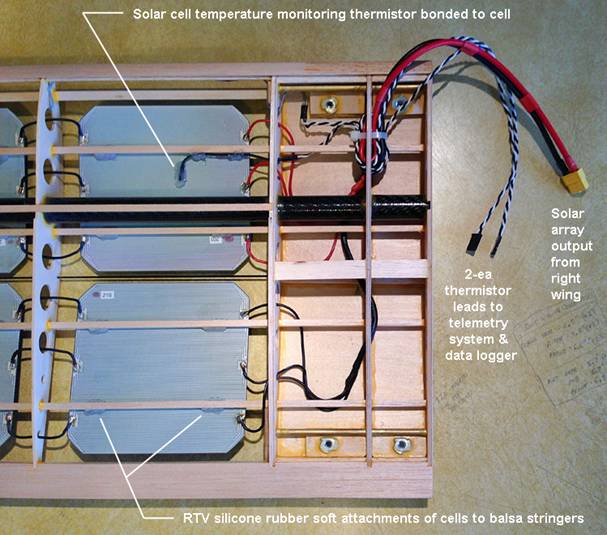
The Maxeon C60 solar cells
are very thin (o.oo6") and fragile. They are attached with silicone RTV
rubber to thin balsa stringers inside the wing, above the bottom covering and
below the upper covering. This configuration isolates them from mechanical
stresses that might fracture the cells and it allows cooling air from the
fuselage to flow over- and under the cells to remove their heat. The hot air is
exhausted at the wingtips.
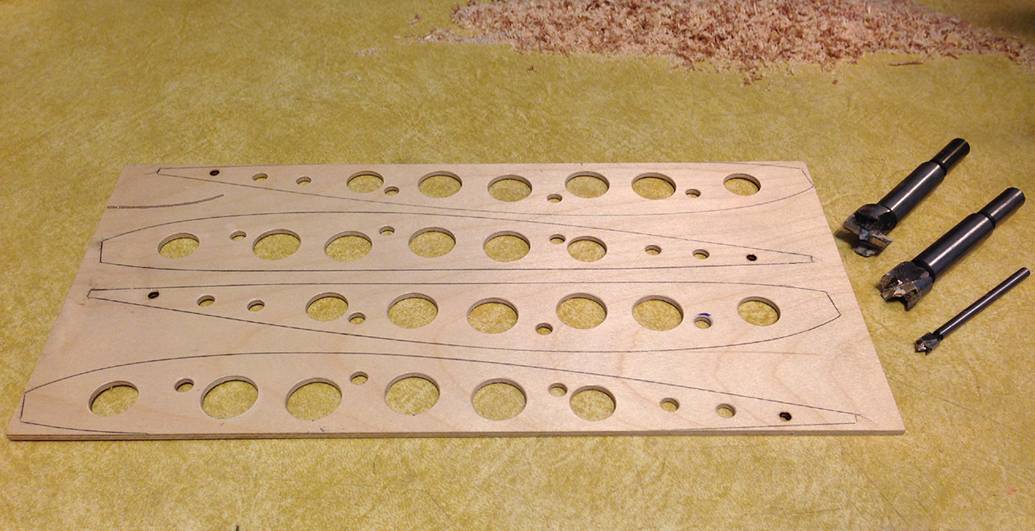
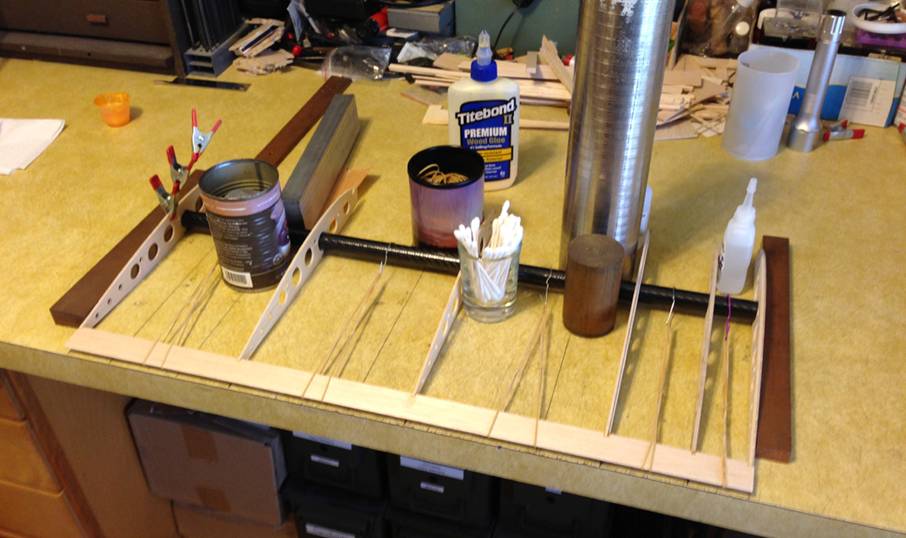
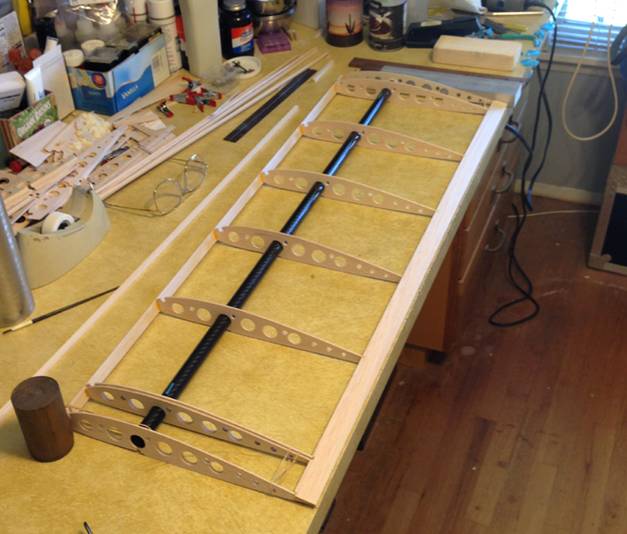
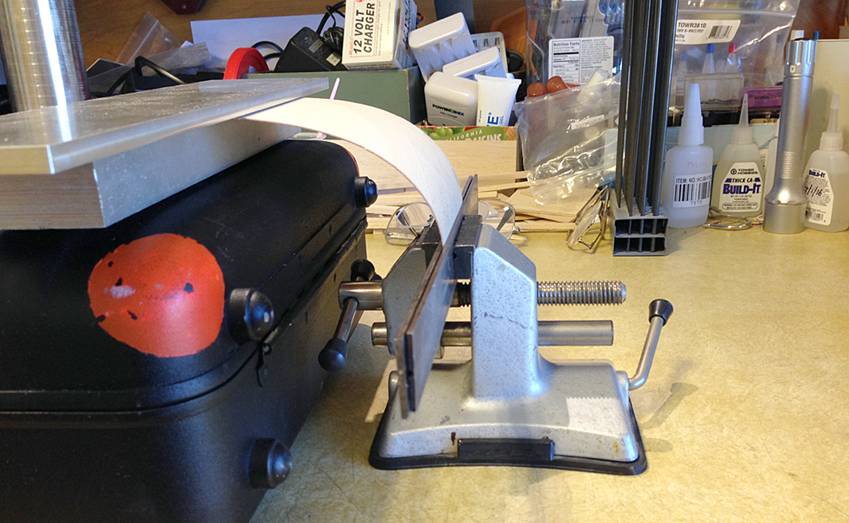
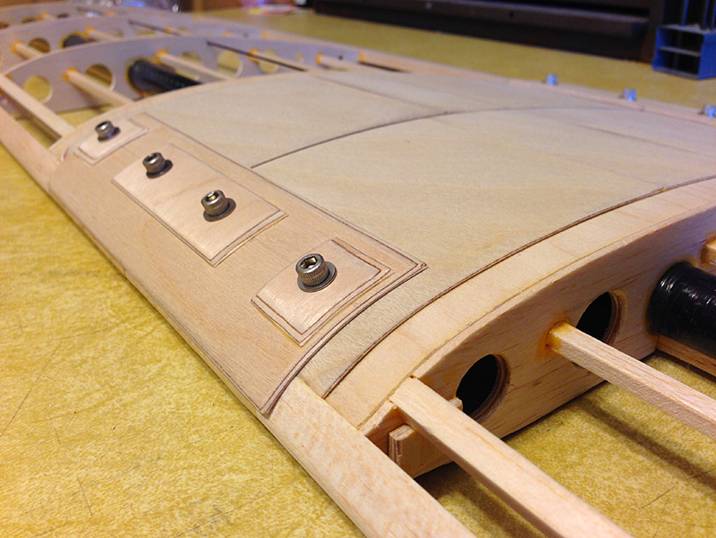
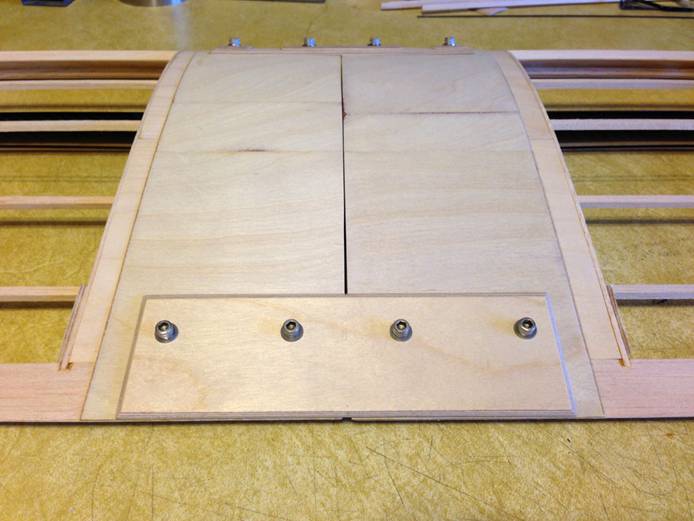
Wing
Construction Photos


Back to the Solar Plane Main Page